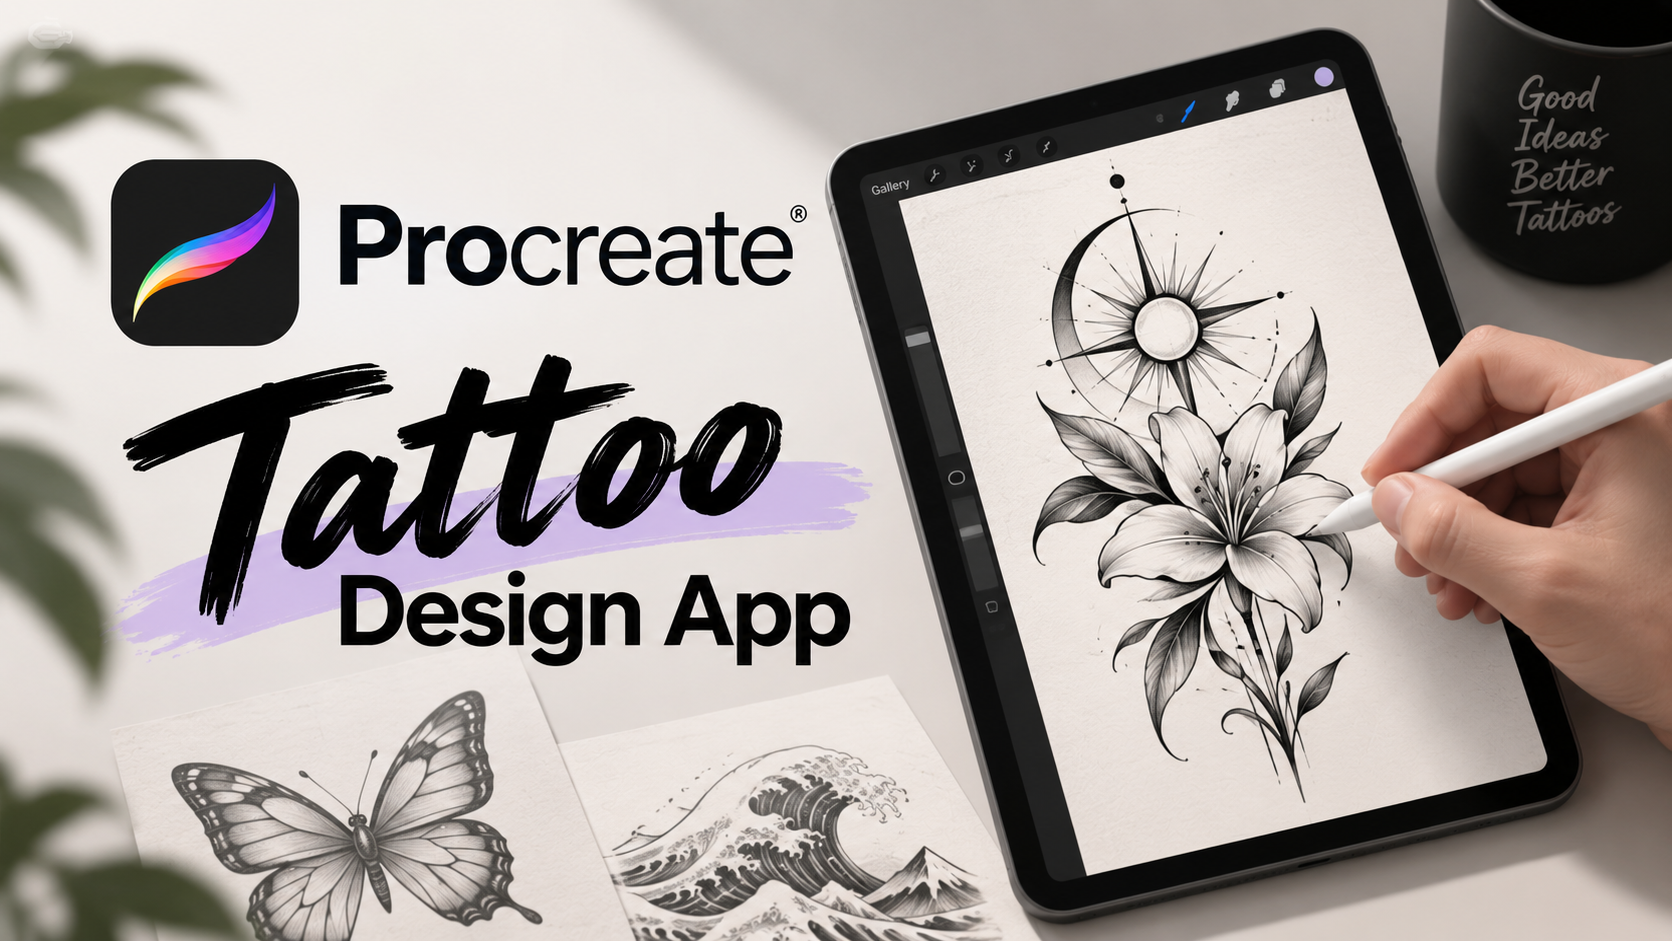
Procreate Tattoo Design App: iPad Guide & Android Options

By Nathan Cole
MyClaw Editorial
MyClaw
Run Best-in-Class AI Agents Now
Run OpenClaw or Hermes Agent on managed MyClaw hosting, so your AI agent stays online, updated, and ready for real work.
AI Takeaway
- Is Procreate good for tattoo design? Yes. Brushes, layers, and drawing guides support sketches, flash artwork, and revisions. An artist still needs to adapt the design for the intended tattoo.
- Is there a separate Procreate tattoo app? No. Artists use the main drawing app. Tattoo brush packs and third-party generators are separate products.
- Can you use Procreate on Android? There is no official Android version. Procreate is for iPad; Procreate Pocket is a separate iPhone app. Infinite Painter and Sketchbook offer Android drawing options.
- Can AI help before you draw? MyClaw’s Tattoo Generator can produce a concept reference. Importing it into Procreate does not create editable linework or a finished stencil.
Is Procreate a Good App for Tattoo Design?
Procreate is a drawing app used for tattoo design, with brushes, layers, and editing tools for building artwork by hand. You can sketch a custom piece, arrange a flash sheet of individual designs, compare shading treatments, and move elements without starting again on paper.
Layers make those changes manageable. Keep a rose’s outline separate from its leaves and shading, for example, and you can adjust the composition without repainting everything. Drawing guides help with symmetry, while selection and transform tools let you test proportions.
For an artist or apprentice, the value is an editable drawing that can develop through several revisions. For a client, a simple sketch may be enough to explain an idea during a consultation. If you only want a quick visual concept and do not plan to draw, start with a concept tool or work directly with your artist.
What You Need Before Drawing a Tattoo in Procreate
Start with a compatible iPad and Apple Pencil. Check both device compatibility and pressure sensitivity: the latter lets you vary line weight by pressing harder, when the brush supports it. Pencil models differ, so confirm these details before buying.
Write a short brief before opening a canvas: subject, style, placement, approximate dimensions, color preference, and anything to exclude. A custom tattoo design brief helps keep these decisions together when you share the work with an artist.
In the Gallery, tap +, then the custom-canvas icon. Set the width, height, and DPI around your intended output. For example, a 4 × 6 inch reference at 300 DPI requires 1,200 × 1,800 pixels. Follow your artist’s or printer’s requirements for the actual dimensions and resolution.
Larger pixel dimensions can reduce the number of layers available on your iPad. Leave enough resolution for the planned print without choosing an enormous canvas by default. Changing the DPI label later does not recover missing detail from a small image.
How to Draw a Tattoo in Procreate
Start with References and a Clear Silhouette
Choose a few original or permitted references and identify what each contributes: the flower shape, the composition, or the contrast. If you have no subject yet, first narrow down your tattoo ideas to one motif and one style.
Place the reference on its own layer, then sketch above it. Start with the outer shape and the balance between filled and empty areas. A forearm composition might need a taller silhouette than a square flash design.
Name layers by purpose: reference, sketch, linework, shading, and color. Duplicate the artwork before a major revision so you can compare arrangements without losing the earlier version.
Keep the sketch loose until the arrangement works. View the whole canvas regularly; detail can hide a weak composition when you stay zoomed in.

Build Linework with Brushes, Layers, and Symmetry
Lower the sketch layer’s opacity and create a clean linework layer above it. Start with an included inking brush and test curves, corners, and pressure changes. Optional Procreate tattoo brushes can add particular textures or stamps, but you do not need a paid pack to begin.
In Brush Studio, adjust StreamLine or Stabilization gradually. Test the same curve after each change so you can judge whether smoothing helps.
For a mirrored motif, turn on Drawing Guide under Actions → Canvas, then choose Edit Drawing Guide → Symmetry. Keep Assisted Drawing enabled for the layer you want to mirror; turn it off when adding independent details.
Keep typed lettering on an editable text layer until the wording and font are settled. Check spelling and letter shapes before adding decoration. For reversible lettering, check the ambigram design in both orientations rather than assuming symmetry makes it readable.
Add Shading and Preview the Intended Placement
Put shading and color on separate layers so you can compare treatments without losing clean linework. Toggle the shading off occasionally: the main shapes should remain easy to distinguish. Compare light and dark treatments while keeping the composition fixed.
Check the design at its intended physical size with a measured print or another reliable size reference. Screen zoom alone cannot show you how large the result will be.
For a placement preview, work in a duplicate document with the design above a body photo. Hide any opaque background that obscures the photo, then adjust the design’s position and scale. Use the overlay to discuss orientation; a tattoo artist still needs to check the fit on the actual body.
Is There a Procreate Tattoo App for Android?
There is no official Procreate tattoo app for Android. Procreate is available for iPad, with Procreate Pocket sold separately for iPhone. A similarly named Android app or brush resource is a different product.
If you already own an Android tablet, compare drawing apps on that device before changing hardware:
| App | Platform for this workflow | Why consider it? |
|---|---|---|
| Procreate | iPad | Manual drawing, layered revisions, and native Procreate project files |
| Infinite Painter | Android | A brush-focused workflow with layers and customizable painting tools |
| Sketchbook | Android | Sketching with layers, drawing guides, and symmetry tools |
Test the tasks you actually need: draw a smooth curve, move a selected element, create several layers, and export a sample. Check stylus support, canvas limits, and the current payment terms. Infinite Painter offers a limited free mode and a paid Pro unlock; confirm the features your project requires.
If you exchange files with a Procreate user, agree on a format first. Choose a flattened preview or an editable layered file according to what both apps support.
Create a Tattoo Concept with MyClaw Before Opening Procreate
 If you can describe the tattoo but struggle to sketch a starting point, use MyClaw to explore a composition, then develop it with the Procreate workflow above.
1. Describe One Clear Tattoo Idea
Open the MyClaw Tattoo Generator and specify the subject, style, intended placement, and approximate size. Request flat artwork on a plain background so you can judge the composition clearly.
For example: “A black-ink peony and crescent moon for a vertical forearm design, with open space between the leaves. Show flat artwork on a plain background, without a body mockup or text.”
2. Refine the Concept and Download Your Reference
Inspect the silhouette, crowded intersections, and any lettering. Change one variable per revision, such as removing background detail or simplifying the leaves, then save the strongest reference.
MyClaw offers limited guest image generation; check the current allowance before planning multiple attempts.
3. Import the Image and Redraw on Separate Layers
Save the image to Files or Photos on your iPad. In Procreate, choose Actions → Add → Insert a file or Insert a photo. Reduce the reference layer’s opacity and draw on a new layer above it. The downloaded image remains flat; redraw the parts you want to edit independently.
If you begin with a photograph, follow the photo-to-tattoo concept workflow to prepare a clear reference before generation.
Export Your Tattoo Design for Review
Use Actions → Share → Procreate to save a master copy with layers, masks, and effects intact. From the same Share menu, choose a review format:
- PSD: for sharing editable layers with compatible software.
- PNG: for a flattened preview. For transparency, hide Background color and any other opaque background layers.
- PDF: for a review or print workflow that calls for it.
Hide reference photos and unwanted sketch layers before exporting a clean preview. Label versions clearly and attach specific feedback: “keep the flower shape, reduce the leaves, and open the gap around the moon.”
Send the intended width and height alongside the artwork. For a scale check, confirm the print settings and measure the printed result; “fit to page” can change its dimensions. Include a plain view of the design even if you also send a placement mockup.
Ask your tattoo artist to review linework, spacing, placement, and the final stencil requirements. Send the clearest design with your brief, then use the layered master for any agreed revisions.
Skip the Setup, Run Best-in-Class AI Agents Now
Launch a managed OpenClaw or Hermes Agent workspace in minutes, with always-on hosting, updates, and support handled by MyClaw.